Here is my completed uBitx. It worked perfectly the first time I applied power. Well, except I had the encoder wires backwards so the tuning was backwards, but I don’t count that.
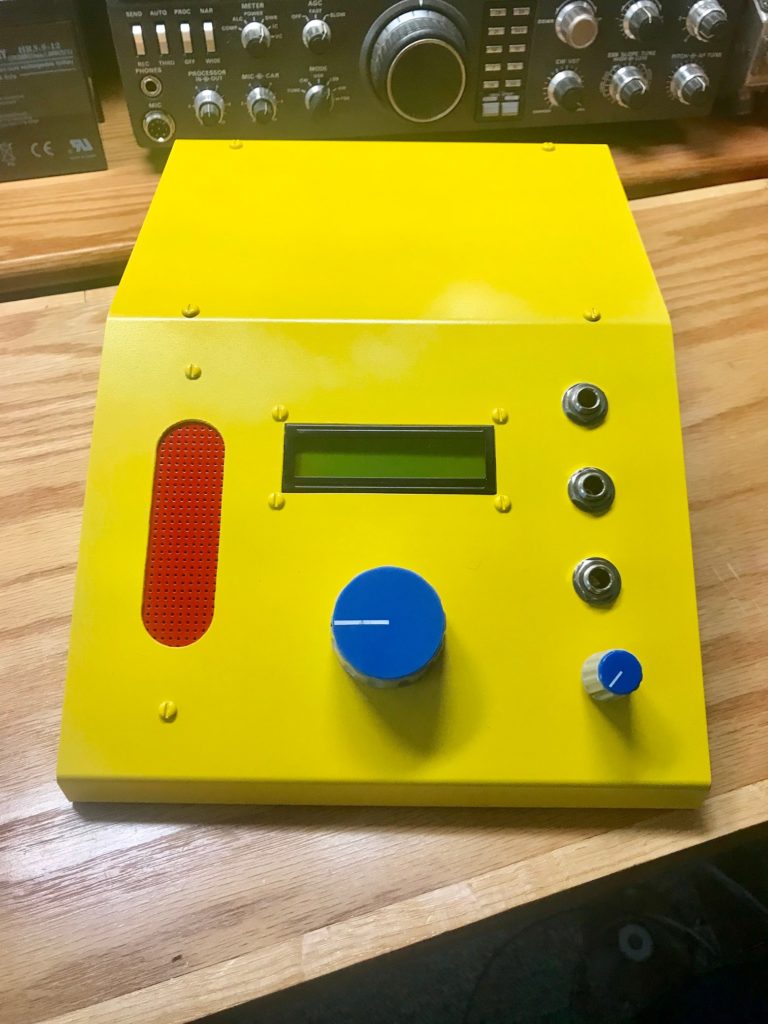
The microphone, keyer and external speaker jacks are on the front panel. I plan to make custom knobs (red of course) on the lathe when I get time.
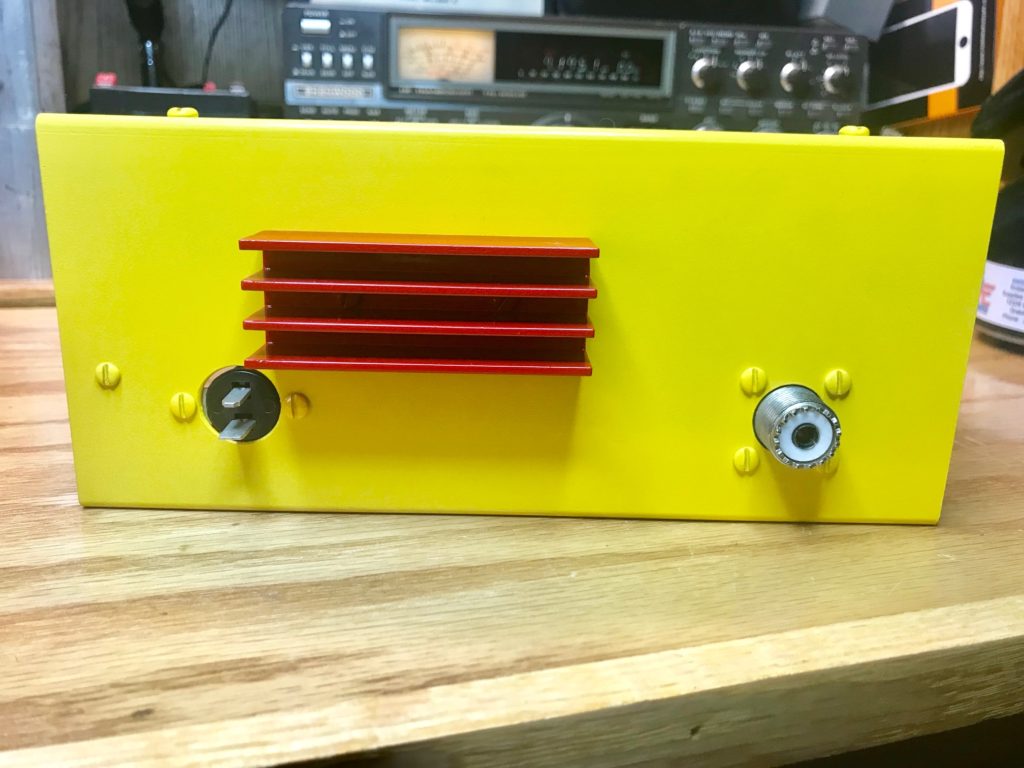
There is a custom made heat sink on the back. It connects to a custom made piece of thick aluminum on the inside of the case where the final transistors mount.
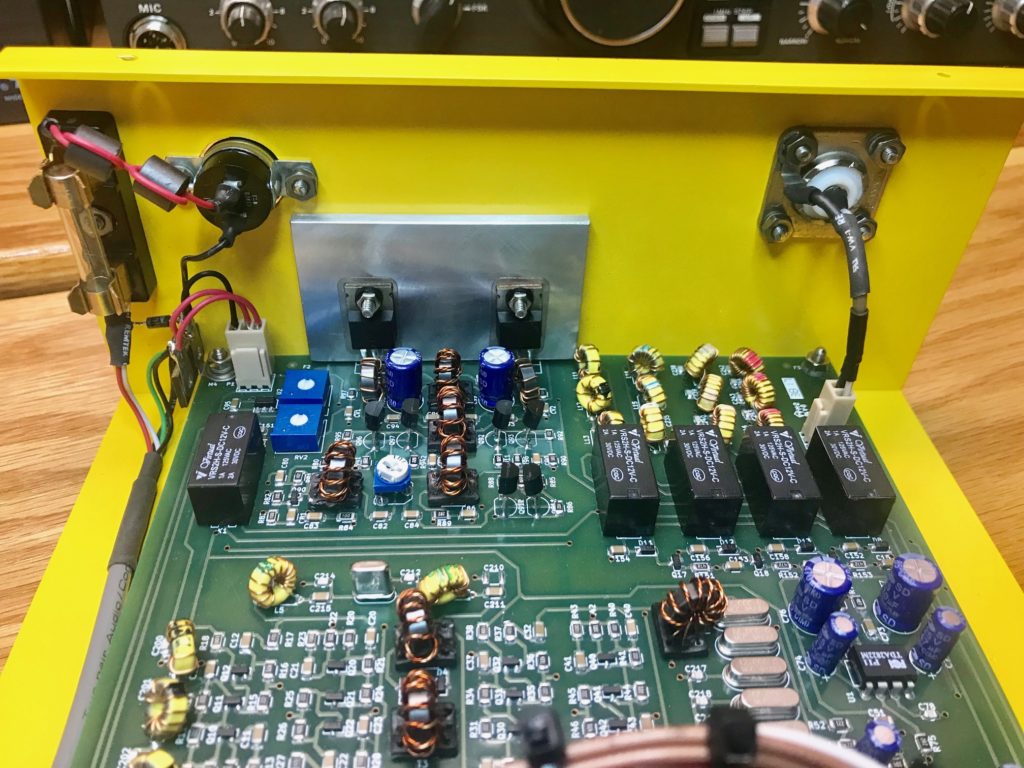
This view shows power and RF connections. You can also see the inside portion of the heat sink.
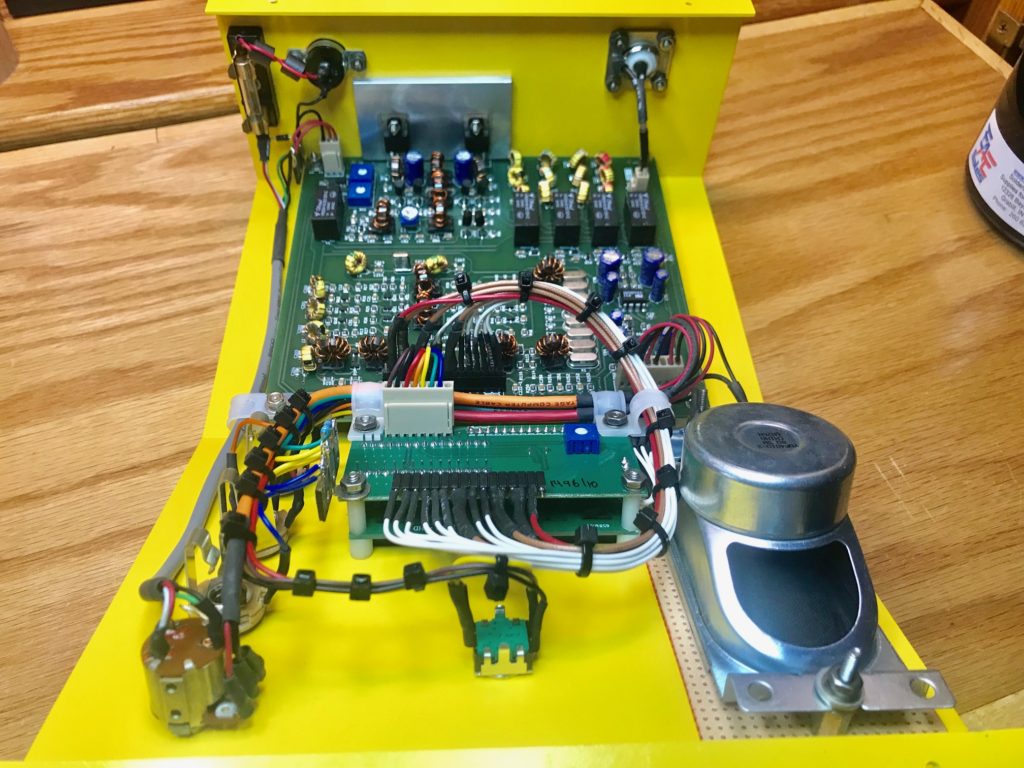
Here is the inside view. ALL the components of the radio are attached to this half of the case to simplify things.
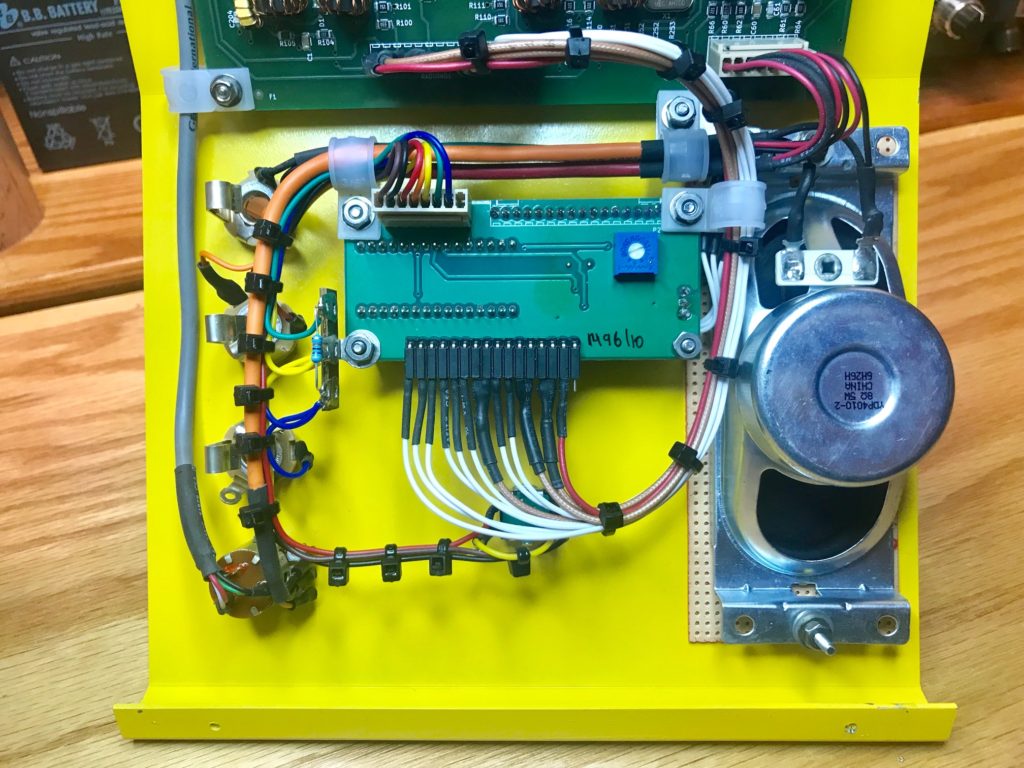
Here is a close up view of the wiring harness used to connect the Raduino to the main PCB. All clock outputs from the SI5351 are run in coax.