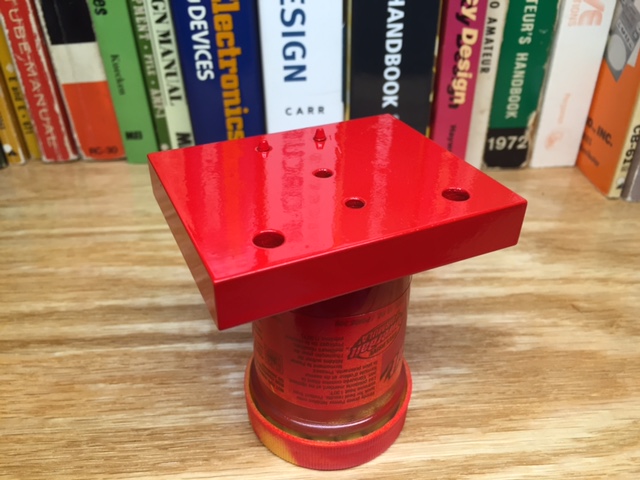
Here is the paddle base with the final coat of paint. As stated in the last post, I am not very good at painting things, but I think it came out very well. The red color is going to look great with the polished brass parts on it.
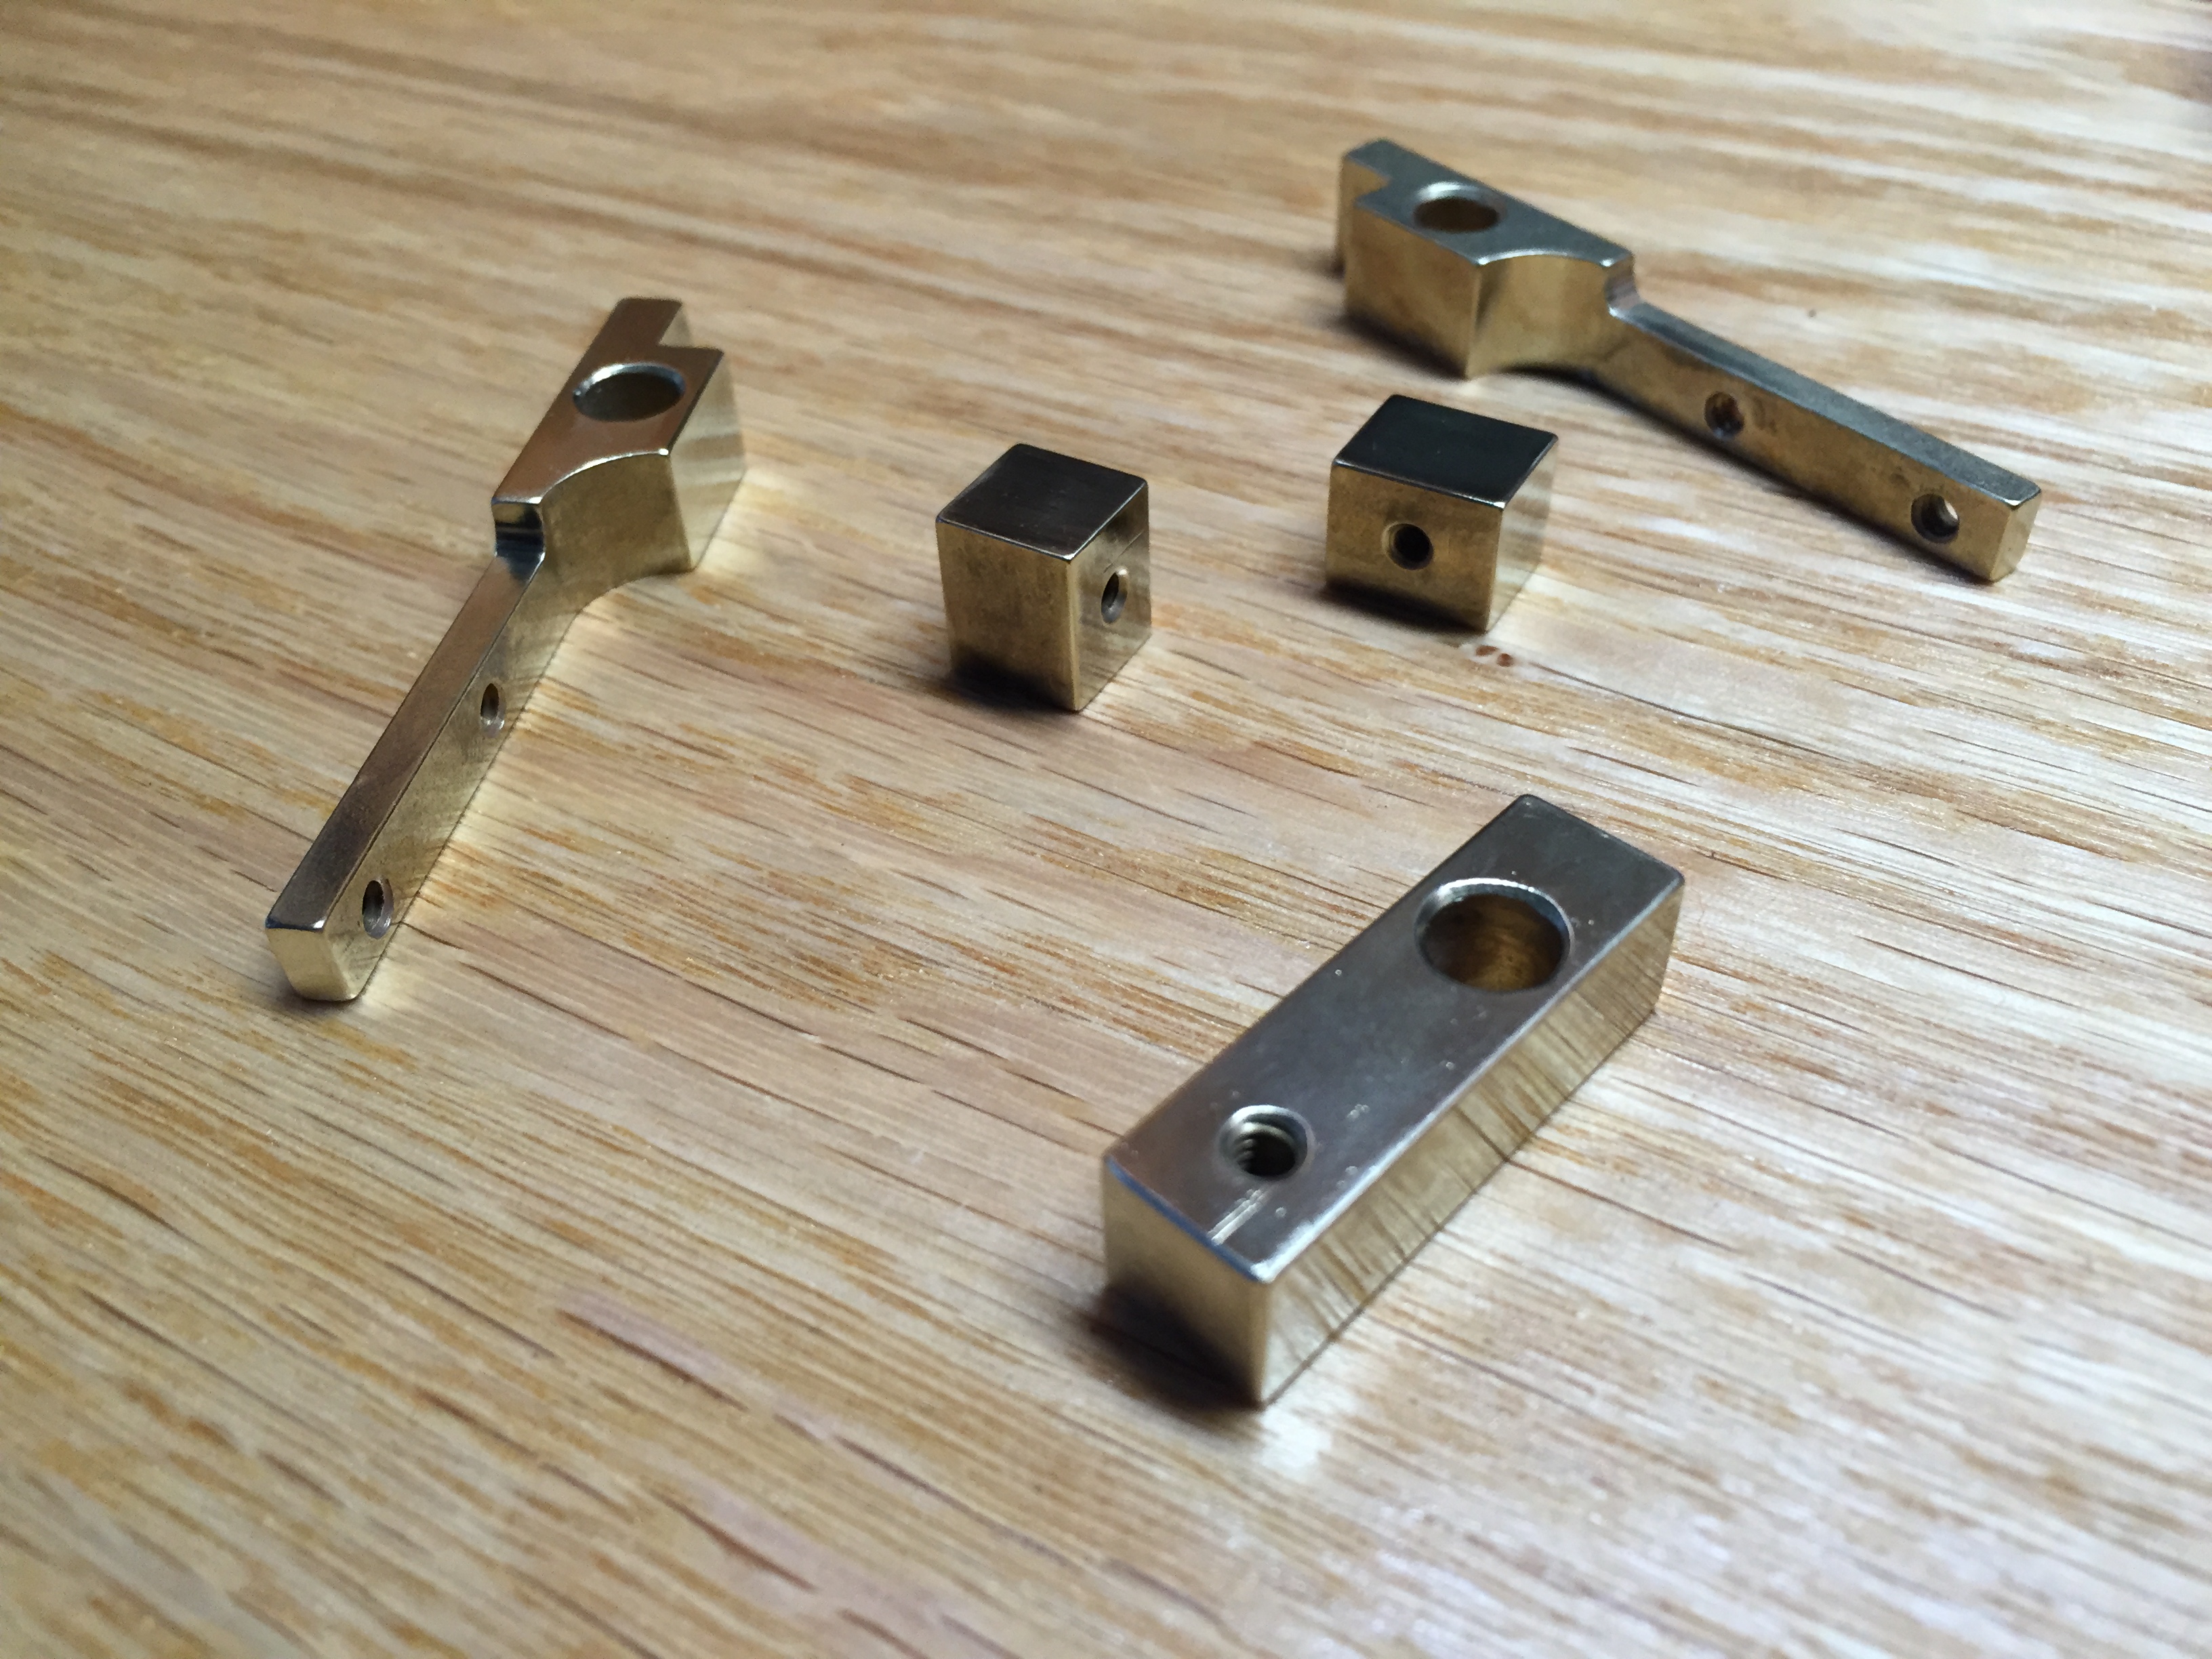
After the brass pieces were cleaned and de-burred in the shaker (see part I Post) I wanted to polish them to a mirror finish. I tried Brasso on a cloth, but that didn’t work. I tried Brasso on a Dremel tool buffing wheel. That did nothing more than make a mess. I had the best results using a small wire wheel on the Dremel tool, followed by a 220 grit foam sanding block.
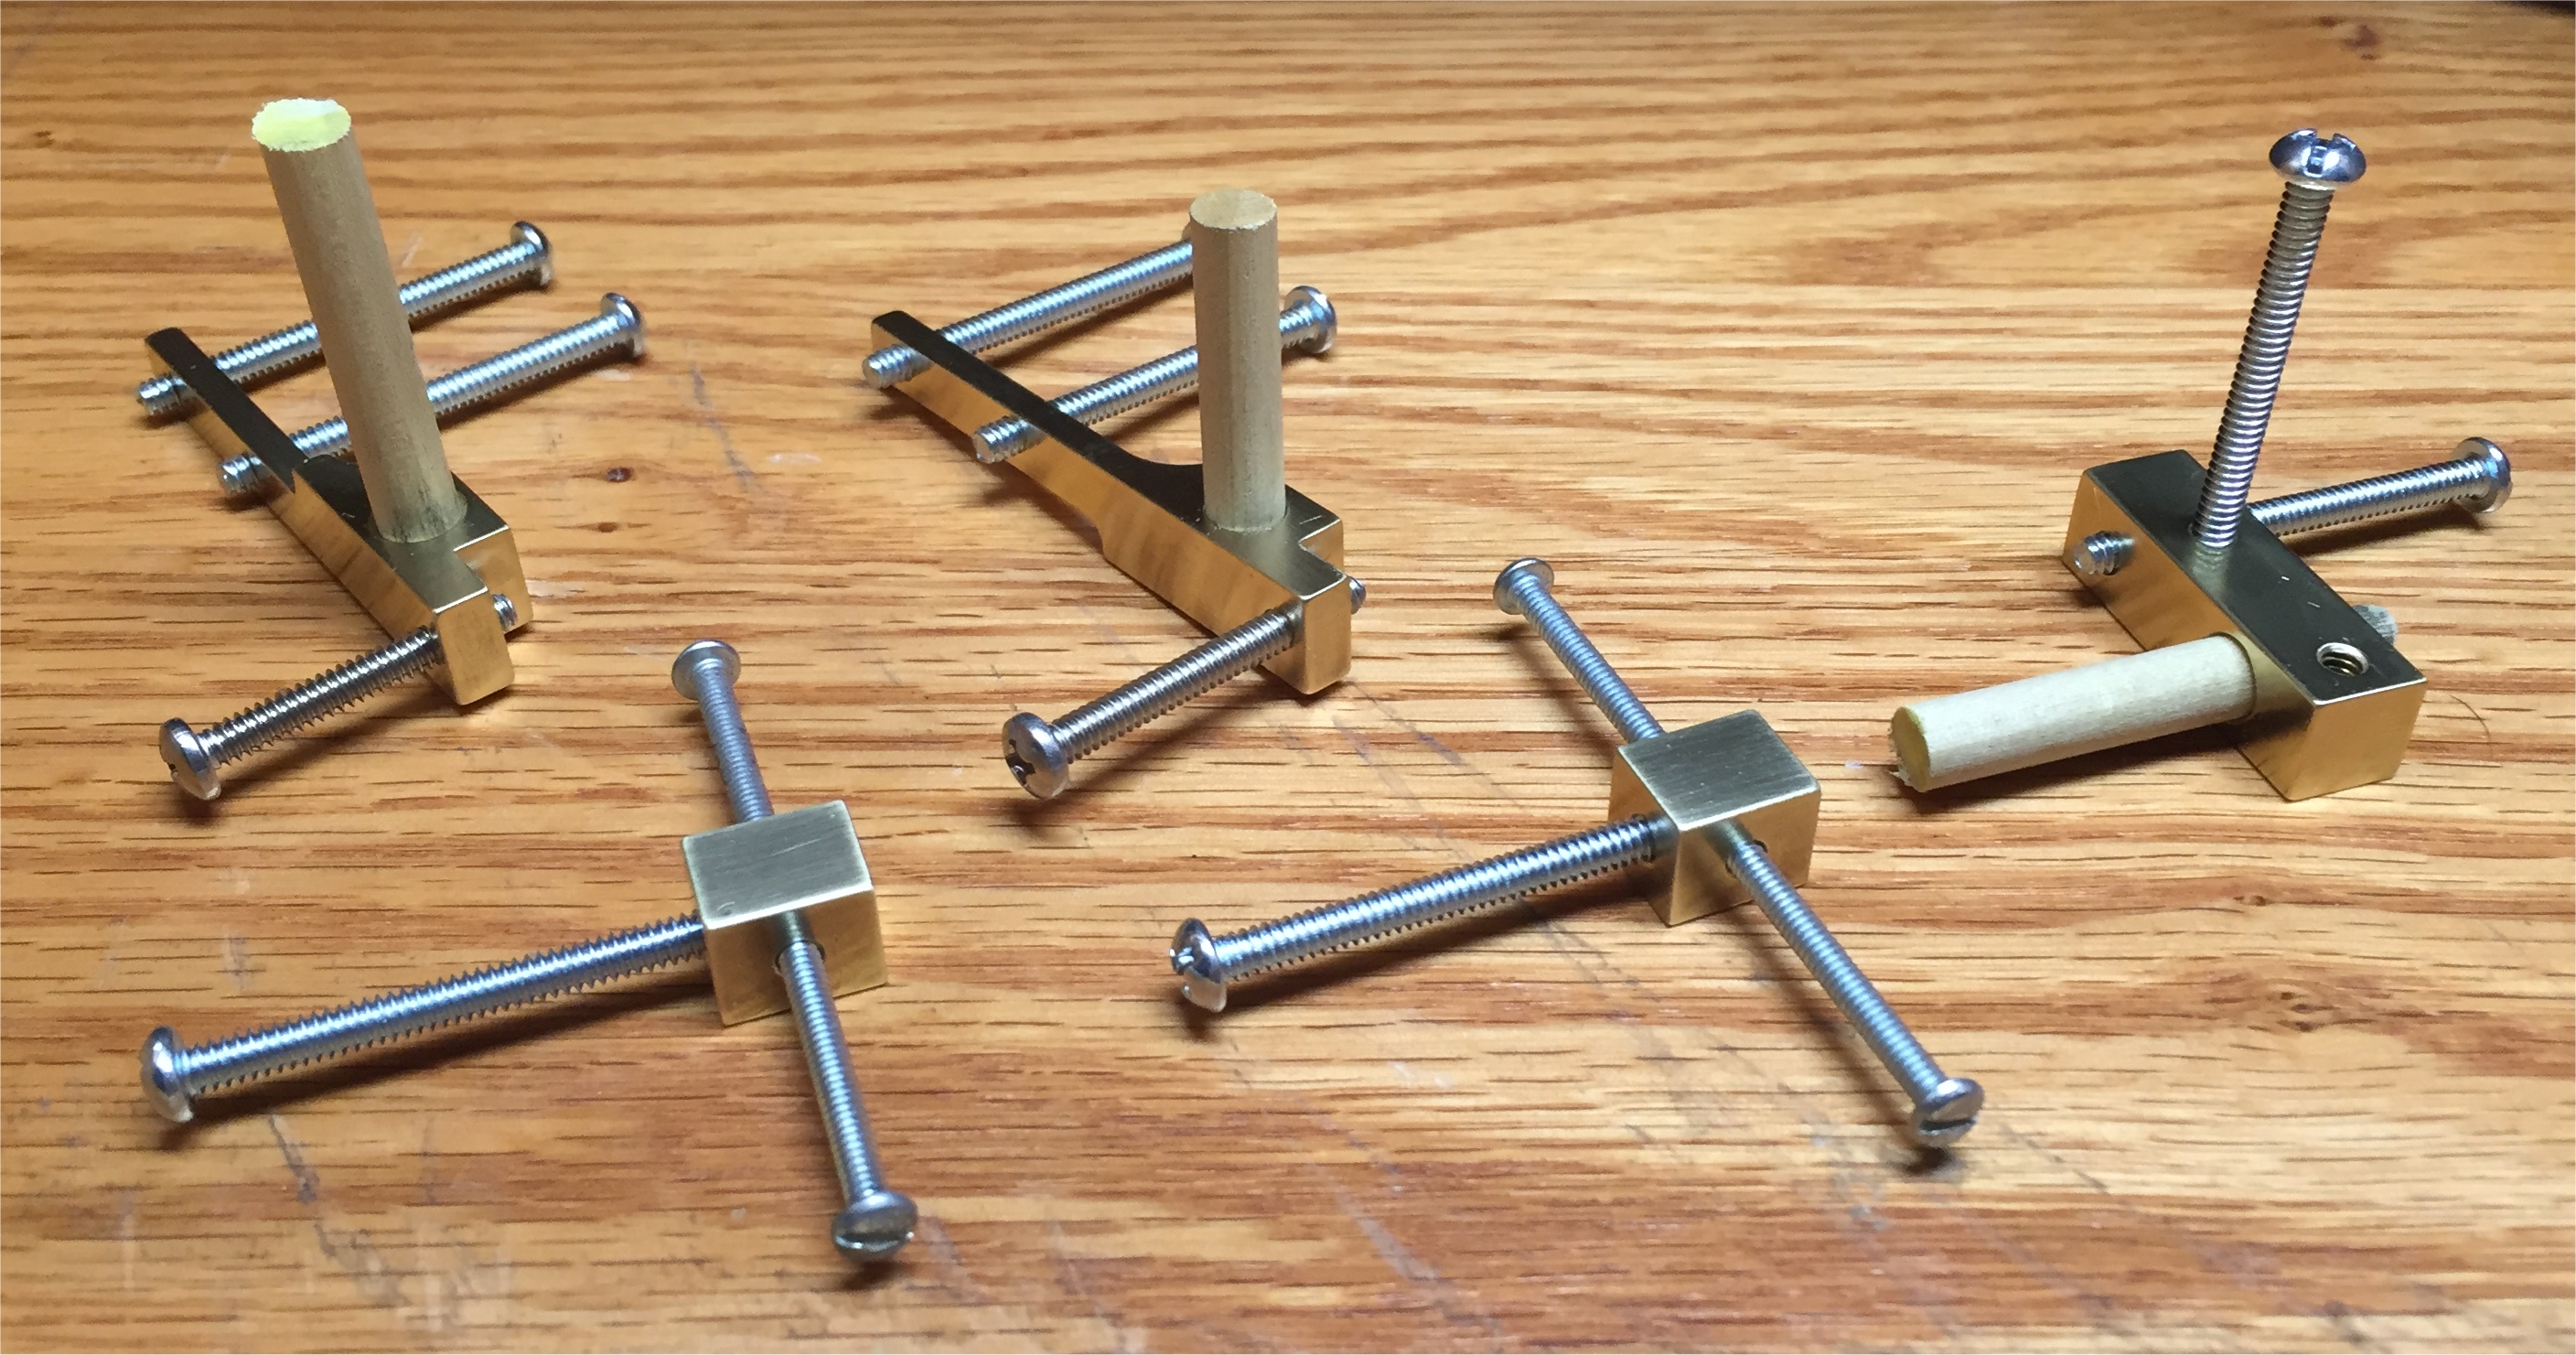
When all the bras pieces were polished, I wanted to preserve that shine by applying a clear finish. I used Rust-Oleum Crystal Clear Enamel. Before applying the clear finish, I plugged the threaded holes with screws, and the other holes with dowel rods to keep the clear enamel out.
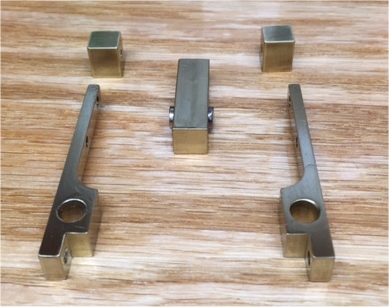
Here are the brass pieces after applying the clear coat. I’m very pleased with the results. I installed the center magnet after the clear coat dried. The instructions say the magnet is a “press fit”, and you should use a vise and wood blocks to install it. Since I had already clear coated the pieces, I didn’t want to ruin the finish with a vice. I used a small file to carefully enlarge the hole in the brass. Then I carefully tapped it into place.
At this point I have another 4 hours in the project, for a total of 12 hours. In the next installment, I will do the final assembly.